Mailchimp’s contact import tool makes adding or updating email contacts simple. You can use a CSV file, a connected app, or a spreadsheet. Free plans let you manage up to 500 contacts and send 1,000 emails a month. But, importing contacts might cost extra if your list gets too big.
When you import contacts, you can sort them by their email marketing status. You can only import one status type at a time. This helps keep your audience organized and follows email marketing rules.
Key Takeaways
- Mailchimp supports importing contacts from various sources, including CSV files, connected apps, and manual entry.
- Free Mailchimp plans include up to 500 contacts and 1,000 email sends per month, with additional charges for exceeding plan limits.
- Contacts can be categorized by email marketing status, with only one status type importable at a time.
- Mailchimp’s import tool allows you to efficiently manage and update your email audience.
- Imported contacts can be further organized using tags for better audience segmentation.
Understanding Mailchimp Contact Import Basics
Mailchimp is a top email marketing tool that makes it easy to add your contacts. Whether you’re starting fresh or merging lists, knowing how to import contacts is key. It helps you manage your audience well.
Types of Contacts You Can Import
Mailchimp lets you import both email and SMS contacts. This helps you manage all your communication in one place. You can use Mailchimp’s full range of features for different marketing channels.
Import Limitations and Requirements
Mailchimp’s import process has some limits and rules. These include how many contacts you can have, how many emails you can send daily, and specific rules for fields like phone numbers and zip codes.
Contact Permission Guidelines
Mailchimp stresses getting the right permission for contacts. You can import contacts as subscribed, unsubscribed, non-subscribed, or cleaned. Importing subscribed contacts means you need to check if they’ve given permission. This is to follow rules like GDPR.
| Statistic | Guideline |
|---|---|
| Email address field | Required for email contacts |
| Text field maximum | 255 bytes of information |
| Address line length | Less than 45 characters per line |
| Phone number format | International format by default |
| SMS phone number | Specific formats for US, UK, AU, or CA |
| Zip code field | Limited to five digits |
| Number field | Can include comma separators, not for phone numbers |
| Birthday field | Supports MM/DD or DD-MM format |
| Image field | Requires full source URL |
| Website field | Requires full URL |
| Groups | Can be added during import, using group column labels |
Knowing these basics helps you prepare your contact data well. It makes integrating with Mailchimp smooth. This boosts your Mailchimp contact management and email marketing plans.
Preparing Your Contact List for Import

Building a good email list is key for Mailchimp success. Before you import contacts, make sure your list is ready. Use a spreadsheet like Microsoft Excel or Google Sheets. Make sure each contact has Email Address, First Name, and Last Name.
Check Mailchimp’s data formatting rules. Phone numbers, birthdays, and addresses need to be set up right. Save your file as CSV or TXT for easy import.
Preparing your list well means a smooth Mailchimp experience. You can then create engaging emails that reach and connect with your audience.
Key Preparatory Steps:
- Organize contacts in a spreadsheet with required fields (Email Address, First Name, Last Name)
- Ensure data formatting aligns with Mailchimp’s guidelines (phone numbers, birthdays, addresses)
- Save the file in CSV or TXT format for easy import into Mailchimp
“Properly preparing your contact list is the first step towards building a successful email marketing strategy with Mailchimp.”
Follow these steps for a solid email list. This will boost your Mailchimp efforts and connect with your audience better.
File Formats and Data Structure Requirements
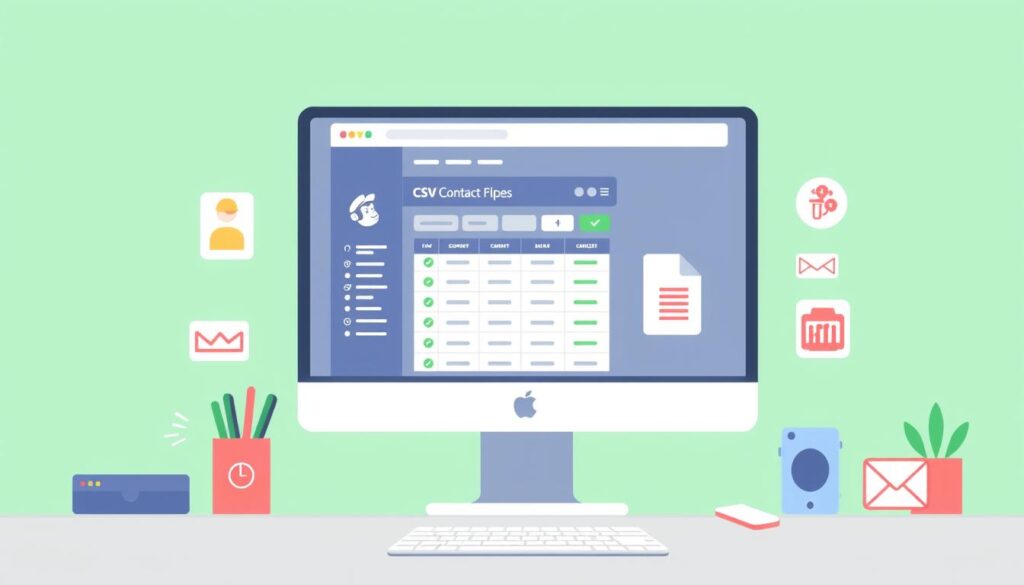
When you import contacts into Mailchimp, you can use CSV or TXT files. CSV is the most popular choice. It makes it easy to organize data in spreadsheets like Microsoft Excel or Google Sheets.
CSV File Formatting Guidelines
To make your Mailchimp CSV import smooth, follow these tips:
- Put all header information in one row. Each column should match a contact field.
- Make sure column headers match Mailchimp’s field names, like “Email Address” and “First Name.”
- Don’t use special characters or formatting in the header row. It can cause problems.
- Keep each column’s format the same, like dates or phone numbers.
- Keep text fields under 255 bytes to avoid cutting off data.
Required Fields and Optional Information
For email contacts, only the email address is needed. SMS contacts need a phone number. But, you can add more fields like first name, last name, and birthday. This makes your contacts’ profiles more detailed.
Special Character Considerations
Watch out for special characters in your data. Characters like commas and apostrophes can mess up the import. Try to avoid them or format them correctly for a smooth import.
Following these guidelines helps you import contacts into Mailchimp easily. It keeps your data accurate and complete.
How to Import Contacts into Mailchimp

Importing contacts into Mailchimp is easy and helps you manage your email campaigns well. It’s great for starting fresh or moving contacts from elsewhere. Mailchimp makes it simple to import contacts and add contacts to Mailchimp.
First, go to the Audience dashboard in your Mailchimp account. Then, click “Import contacts” to start. You can import contacts in different ways, like uploading a CSV file or linking to an external service.
- When uploading a CSV file, match your file’s columns with Mailchimp’s fields like email and names.
- You can also choose how to subscribe your contacts, helping you manage their engagement.
- Plus, you can add tags or groups to segment your audience and make your emails more personal.
After setting up your import, Mailchimp will handle it for you. You’ll get an email when it’s done. This email will tell you how many contacts were added, updated, or skipped.
Keeping your email list clean and active is key for your Mailchimp campaigns to succeed. By following best practices and keeping your contact info up to date, you’ll make sure your messages get to the right people. This will help you get better engagement.
Importing Contacts from External Services

Mailchimp makes it easy to bring in contacts from services you already use. Whether you’re using Salesforce, WooCommerce, or QuickBooks Online, Mailchimp has you covered.
Supported Integration Platforms
Mailchimp works with many external services, including:
- Zapier
- Salesforce
- WooCommerce
- QuickBooks Online
- Squarespace Commerce
- Shopify
Step-by-Step Integration Process
Importing contacts is easy. Just connect the app through Mailchimp, pick the integration, and follow the steps. This saves you time and effort.
To import from Salesforce, connect your account to Mailchimp. Then, map fields and sync contacts with a few clicks. This helps you use your customer data better in Mailchimp.
Using Mailchimp integrations makes importing contacts simple. It keeps your Mailchimp integrations current. This lets you focus on making great email campaigns and reaching your audience better.
Using the Copy and Paste Method
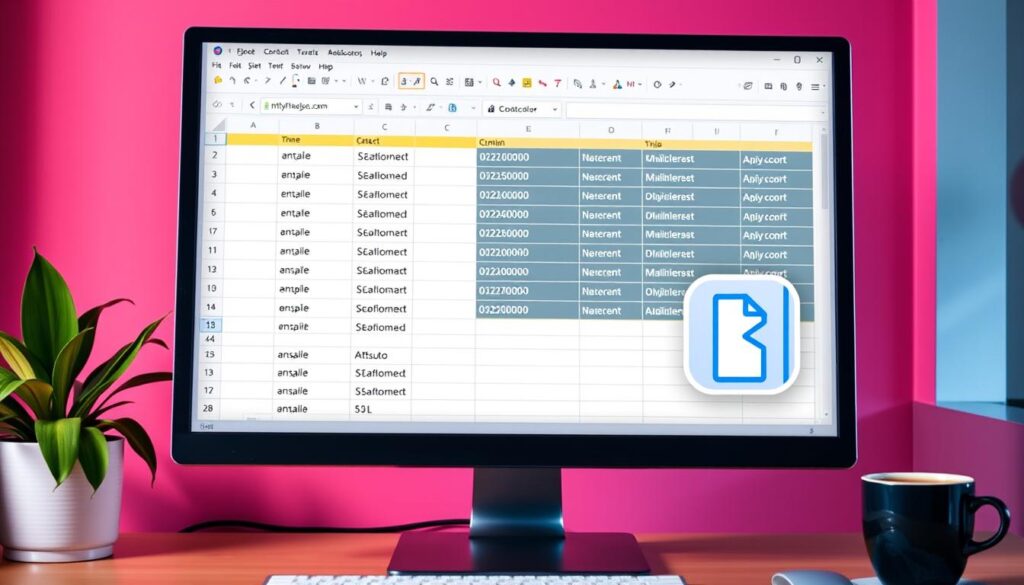
Mailchimp makes it easy to add contacts to your email lists with the copy and paste method. You can import contact info from spreadsheets or other digital sources into your Mailchimp account. This method doesn’t require complex file formatting or integrations.
This method is great for small contact lists or quick additions to your audience. Here’s how to use it:
- Go to the Mailchimp contact import tool and choose “Copy and paste”.
- Get your contact info ready in a spreadsheet or document. Make sure each contact’s details are in a clean, comma-separated format.
- Copy the contact info from your document and paste it into the Mailchimp import tool.
- Mailchimp will match your data to the right contact fields, like email and names.
- Check the contact info and adjust the field mappings if needed.
- Choose the subscription status for your contacts, following GDPR guidelines.
- Finish the import, and your contacts will be in your Mailchimp audience.
The copy and paste method is quick and easy for manually entering contacts into Mailchimp. It’s perfect for small Mailchimp copy paste import tasks. But for big contact lists or complex data, use Mailchimp’s file import or integration options for a smoother process.
Mobile App Contact Import Options
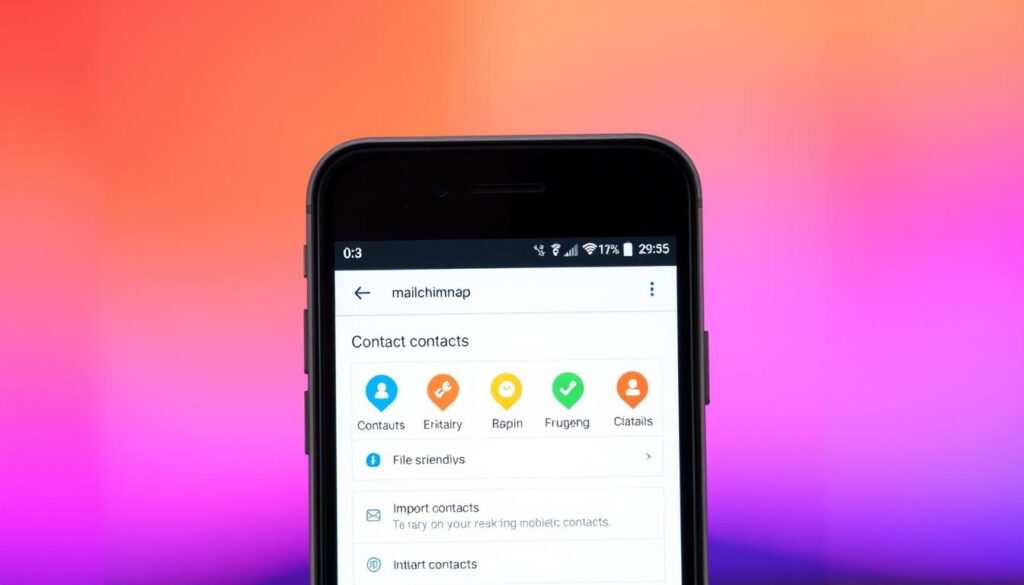
Mailchimp’s mobile app makes managing contacts easy on the go. You can add new contacts manually or use cool features like scanning business cards and importing from your device’s contacts.
Scanning Business Cards
The Mailchimp mobile app has a business card scanning feature. It lets you add new contacts fast by taking a photo of a business card. The app then grabs the contact’s name, email, and phone number for you.
Direct Device Contact Import
For more contacts, the app lets you import from your device’s contact list. You can pick several contacts and add them to your Mailchimp audience with a few taps. You can also update contacts or add new tags and groups during import.
Whether you’re at a networking event or need to manage contacts on the move, the Mailchimp mobile app is handy. Its features like business card scanning and direct import make managing contacts easy. This lets you focus on creating great email campaigns to engage your audience.
Managing Contact Fields and Tags During Import

When you import contacts into Mailchimp, you can manage fields and tags. This helps you organize your audience and make your marketing more personal.
Matching Columns to Mailchimp Contact Fields
During import, you can match your contact list columns with Mailchimp fields. You can also create new custom fields. This makes sure your data fits well with your Mailchimp audience.
Assigning Tags to Imported Contacts
Tagging contacts is a great way to sort and segment your audience. You can tag all imported contacts for easier targeting. Mailchimp tags must be 100 characters or less. You can make new tags or use existing ones.
| Tag Name | Character Limit | Creation Process |
|---|---|---|
| Tag names | 100 characters or less | Click Audience, then Audience dashboard to create a new tag |
Tagging contacts during import boosts your segmentation and personalization. This leads to more effective marketing campaigns.
By managing fields and tags well, you can get your imported contacts ready for targeted marketing in Mailchimp.
Contact Status and Permission Settings
When you import contacts into Mailchimp, knowing about subscription status is key. Mailchimp has four main contact status types: Subscribed, Unsubscribed, Non-subscribed, and Cleaned. Each status affects your marketing in different ways.
Understanding Subscription Status Types
Subscribed contacts have chosen to get your marketing emails. This includes newsletters, promotions, and texts. They help you reach your monthly plan limits and can get various emails.
Unsubscribed contacts have said no to your marketing. They won’t get marketing emails or texts. But, they can still see ads and transactional emails. They also count towards your monthly limits.
GDPR Compliance Considerations
Importing contacts into Mailchimp must follow rules like GDPR. Mailchimp has a Marketing Permissions field to track consent. Before adding subscribed contacts, get their permission to market to them. Use the Marketing Permissions field to record their consent.
FAQ
What types of contacts can I import into Mailchimp?
What are the import limitations and requirements in Mailchimp?
What are the contact permission guidelines for importing into Mailchimp?
How should I prepare my contact list for import into Mailchimp?
What file formats and data structure requirements does Mailchimp have for contact imports?
How do I actually import contacts into Mailchimp?
Can I import contacts from external services into Mailchimp?
How can I use the copy and paste method to import contacts into Mailchimp?
What mobile app contact import options does Mailchimp offer?
How can I manage contact fields and tags during the import process?
What contact status and permission settings should I consider when importing?
Source Links
- https://mailchimp.com/help/add-import-contacts-mobile/
- https://community.hubspot.com/t5/Tips-Tricks-Best-Practices/What-is-the-best-way-to-import-contacts-from-Mailchimp-to/m-p/838072
- https://mailchimp.com/help/format-guidelines-for-your-import-file/
- https://www.lightboxre.com/insight/how-to-import-a-contact-list-into-mailchimp/
- https://mailchimp.com/help/import-suppression-lists/
- https://mailchimp.com/help/create-audience/
- https://www.elegantthemes.com/blog/marketing/mailchimp-email-marketing
- https://www.zoho.com/analytics/help/connectors/mailchimp.html
- https://mailchimp.com/help/combine-audiences-csv-file/
- https://larrygmaguire.medium.com/how-to-import-contacts-to-mailchimp-def04a397c2c
- https://mailchimp.com/help/import-contacts-mailchimp/
- https://profiletree.com/wix-and-mailchimp/
- https://blog.coupler.io/mailchimp-list/
- https://mailchimp.com/help/getting-started-audience/
- https://mailchimp.com/help/manage-contacts-mobile/
- https://mailchimp.com/help/import-sms-marketing-contacts/
- https://mailchimp.com/help/troubleshooting-contact-imports/
- https://mailchimp.com/help/create-add-remove-tags/
- https://mailchimp.com/features/tags/
- https://mailchimp.com/help/import-mailing-addresses-postcards/
- https://mailchimp.com/help/about-your-contacts/

